To connect both tools, please create API AuthToken in GrassBlade LRS and put AuthToken in the GrassBlade Settings on WordPress.
Let’s see step by step.
Generate AuthToken in LRS
Step 1:
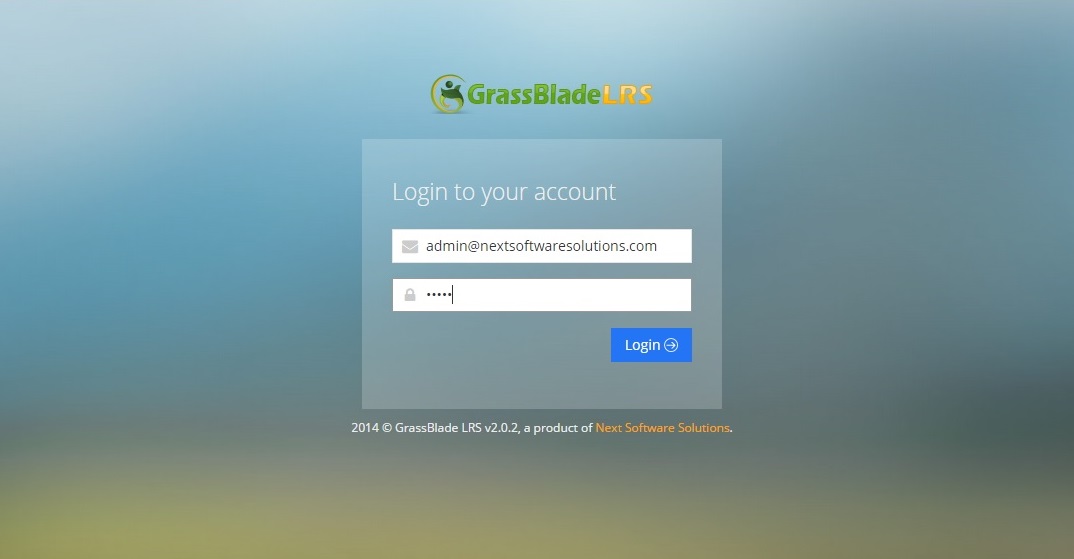
Login to the GrassBlade LRS dashboard. The URL will most likely be: https://<yourdomain>.com/grassblade-lrs/ or wherever you set it up during installation.
Step 2:
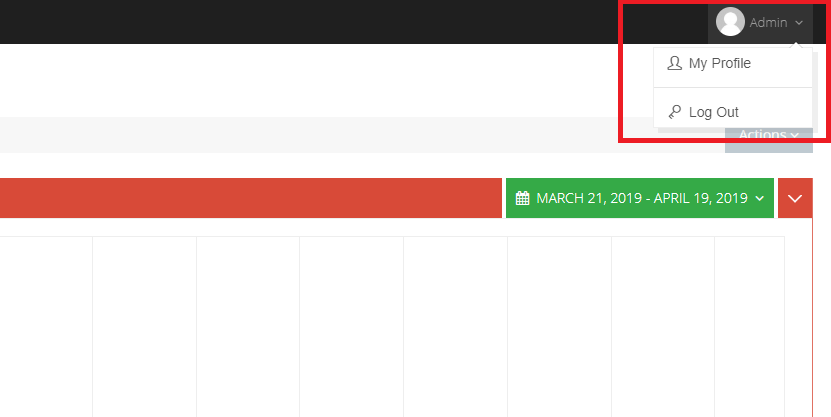
Now click on the My Profile link in the top right corner.
Step 3:
Click the Add New Basic AuthToken button.
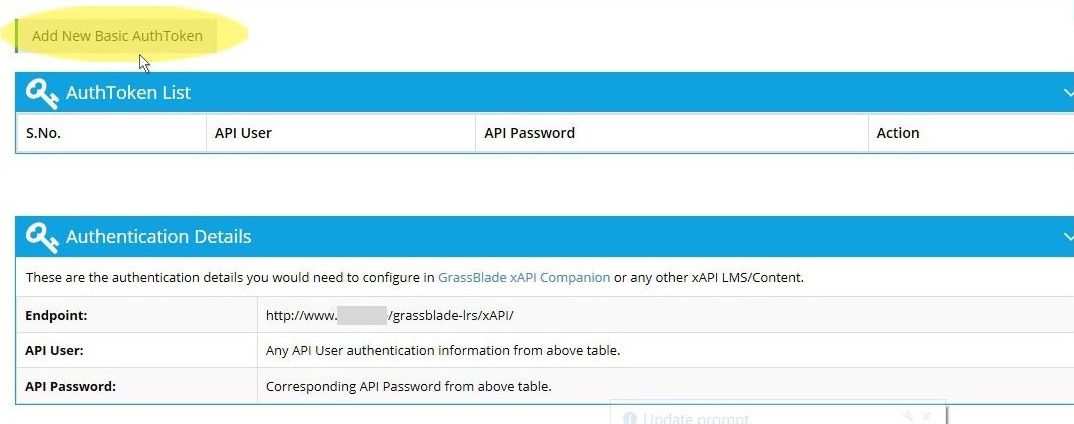
It will generate new:
- API User
- API Password
The “Endpoint” is given in the Authentication Details section.
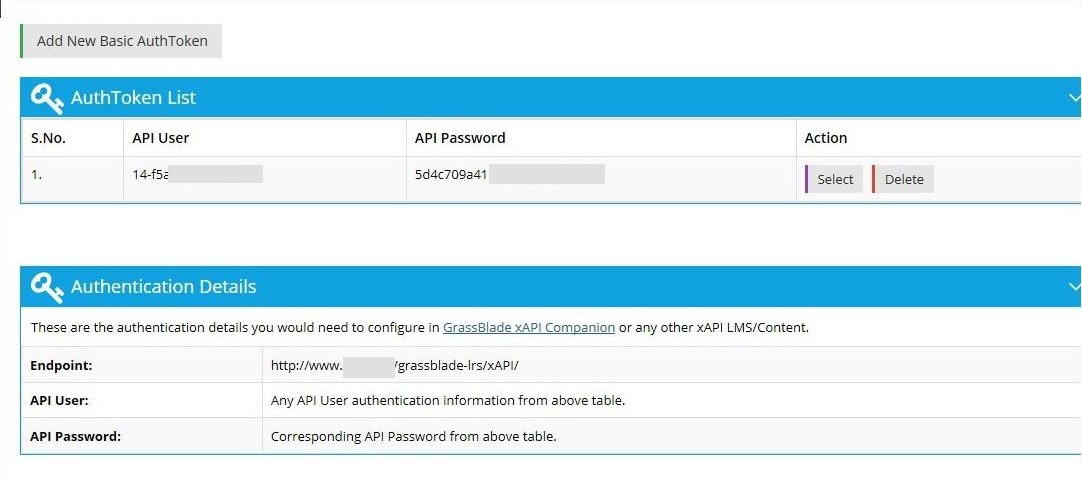
If you already completed Step 6, click the Select button and click the Auto-Configure in WordPress button in the popup. It will automatically copy/paste the token in GrassBlade Settings on WordPress.
Add AuthToken in WordPress
Step 4:
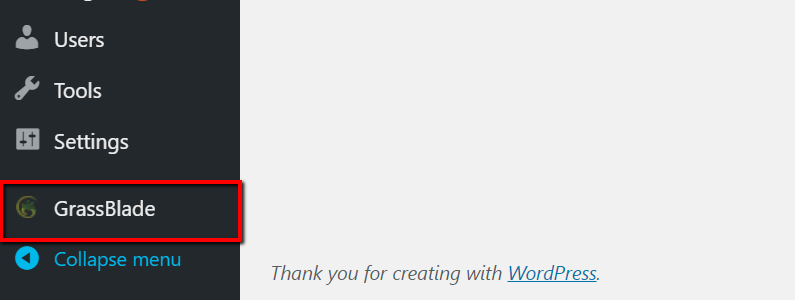
Go to WordPress Dashboard > GrassBlade
Step 5:
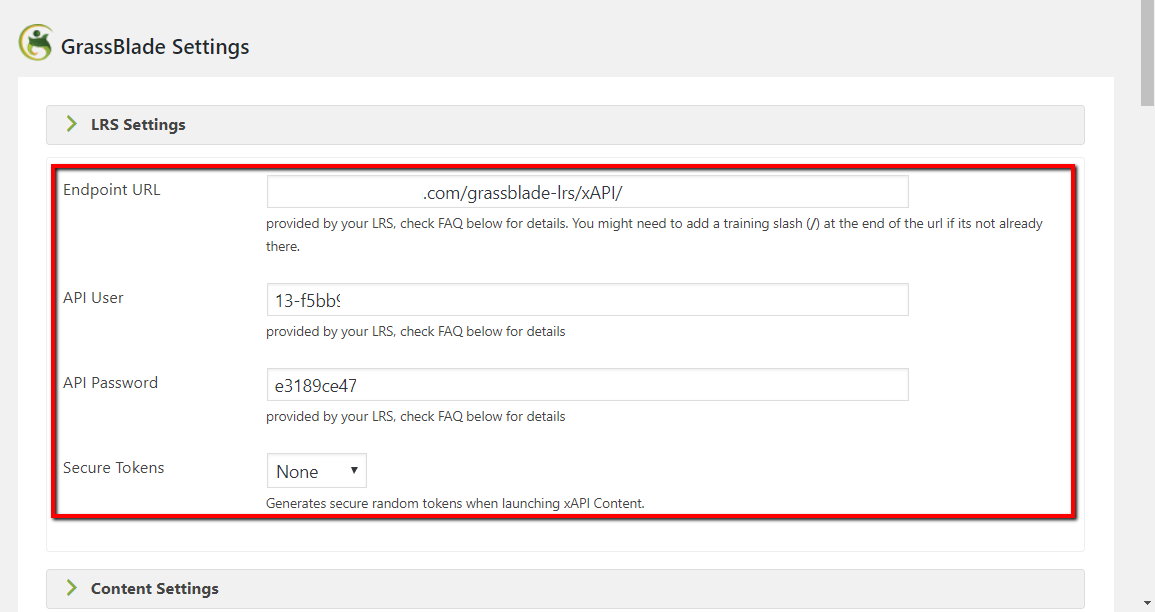
Copy/Paste the AuthToken credentials from LRS.
- Endpoint URL
- API User
- API Password
Connecting LRS with WordPress
To get better reporting with WordPress, connect LRS with WordPress integration.
Step 6:
Go to GrassBlade LRS > Configure > Integrations > WordPress tab, and add WordPress credentials in the LRS and click the Submit.
- WordPress Site URL. (Include http:// or https://)
- WordPress Admin Username
- WordPress Admin User’s Application Password if you’re on WordPress v5.6+ with HTTPS If no? then WordPress Admin User’s normal password.

Make sure, “User” must be the username and not the email id. The user should be either an admin user or a user with connect_grassblade_lrs capability.
You will see a “Test” button after you save the details. Clicking the button will show if the connection was successful.
LRS Connection Test
After doing all the settings, please run the LRS Connection Test from WordPress to verify if there are any errors. To run the LRS Connection Test from WordPress. Please navigate to the WordPress Dashboard, and click the GrassBlade option, and then click the LRS Connection Test button.
To learn more about each test and the common solutions, please click the blue (i) icon near the test name.

Next Steps:
